Showing posts with label crafts. Show all posts

Friday, May 13, 2011

~*~Safari Party Invites Part 1~*~


I'm in the process of making my kiddies Birthday party invites. This is taking a while since, first I ran out of Blue Giraffe ribbon (WHICH I LOVE, sold at Walmart..which of course I can not find again), then I ran out of the white animal print ribbon that has all the cute animals on it, then the orange ribbon then glue! SO with all that said, I have all 30 some odd invites papered. I will be making a big giraffe using my Cricut and Birthday Bash cartridge and placing it on the front of the card. I was going to make it 3D but since it will be traveling there is really no point since it will probably get squished on its journey. I also put green paper on the inside. I hope to get these done this weekend. And BTW I am praying that next time my bestest friend takes a trip to Walmart, she will be the chosen one to find this Blue Giraffe ribbon! (I will pay her back with Sonic Yumminess)


~*~Safari Party Goodie Bags~*~


So my kiddies birthdays run pretty close to each other, so this year I've decided to combine both parties into one! I have always love the way safari paper looked and well...safari animals are just too cute! To start, after Easter I bought some Easter Egg fillers on sale for about .20 cents for 6 items..do the math and I saved a whole lotta cash! I put them in Zip Lock snack baggies.
So after I filled 20 baggies, I folded a paper over the baggie and stapled it. I did this so that I could just glue my "label" sheet over the staples and hide them. A tip I picked up from my new FB friend Amy! Thanks Amy!

I then created the label using simple safari themed paper and I used my Cricut and Birthday Bash cartridge to create the different animals on the label. As many of you know, when you use the cricut...details on items don't normally come out very well unless you make them about 5' or bigger. The animals I made were 2 1/2 inches so I just used fabric paint and glitter glue paint pens to make some details on them. Also instead of typing out the date and what not, I just printed Party Animal on some tan paper and bada bing I now have 20 handmade goodie bags!


Friday, April 29, 2011

Ready for a cup of Tea!?

Tea Parties are a cute theme for Any party! My friend Nicole is hosting a Party in a few months and sent me on a quest to make cute Tea Party Cookie Trays. Here is a list of Material used:
  • Pails - $1.47 Each at Hobby Lobby
  • Flower Bundles- .97 Cents each at Walmart
  • Silver Charger Plates- $1.99 Each at Hobby Lobby
  • Flower Foam- $2 at Walmart
  • Silver Ribbon- .97 cents at Walmart
  • Hot Glue
These were so simple to make and it was a lot of fun making the flower bouquets. Nicole wanted to use a white table clothes..with silver accents and bright colorful flowers...I think the Silver Chargers and pails have a weathered look to them like they have been out in the sun and the flowers give it a nice pop!


Tuesday, March 15, 2011

~Work in Progress....

I wondered onto here and realized that we haven't been on here in awhile! I then realized that neither of us has been working too much on crafting. I've been busy with tests and Laura has been busy with the kids. However I did get some crafting time in today. I decided awhile back that I wanted to make a book that was inspired by Skittles candy. A friend of mine works in a bakery and she decorates these amazing cakes. She made a cake awhile back that was a skittles package. The light bulb went off in my head and I heard the rush of the waterfall! I decided to make a book inspired by a skittles package. I wanted it to be an interpretation of a skittles package and not an exact replica. I got some glittered cardstock to use as the background pages in the same colors as skittles candies. I think cut out a bunch of some circles and glittered them the skittles colors. I then used white shirt paint to draw an "S" in the middle. The front cover I made a custom sticker on clear sticker paper. I had a hard time with air bubbles but Laura assures me that it makes it look more like a real package. So I'm hoping she's not just saying that to make me feel better LoL. I decided to make the skittles book a birthday themed book. I decided this when I was at Joann's looking for the glittered cardstock. I saw these birthday hats by K&Company and was like "WE HAVE A WINNER!!!" I knew then the skittles book would be a birthday book. The first two pages of the skittles book are red and let you know immediately you have opened a birthday book. It has a photo palette in the shape of a cupcake. (Which is actually a funny story within itself.) The 3rd & 4th pages are the orange pages which I have not worked on yet. The 5th & 6th are yellow and just missing their yellow skittles. Sort of a just a random pic kind of page. The 7th & 8th pages are green which i have not worked on yet. The 9th and 10th pages are purple. The purple pages are for PREZZIES!! The photo palettes are shaped like little presents complete with bows made by Laura! (cause uumm me & bows just don't mesh well...**sheepish look**) The back cover..I haven't quite decided the background yet but I'm sure I'm going to use clear sticker paper to create it. Then I will put 5 larger skittles and put their flavor names under them.
I most likely will give this book away as a gift. To who? Have no idea but I think it is just the beginning of my junk food inspired books!

Friday, February 25, 2011

Sneak Peek!

OOOhhhh my fellow scrappers! ...Wondering what all these goodies are going to turn into??? Stay tuned and you will find out soon!!

Included in photo- 3 Wooden Plagues; fabric paper; belt clips; binder square rings; glue; paint; a false book; foe fur; and lots of O's!

Thursday, February 24, 2011

~THE GREAT PUMPKIN!!!~

By far my favorite holiday to scrap is HALLOWEEN!!! Halloween usually has the best stickers, papers, embellishments and pictures of any holiday. At least it is in my book. I made this after Halloween 2010 for Laura. I have had the idea for a long time before that, to create a pumpkin shaped book for Halloween. I wasn't planning on any Halloween festivities but I knew I had to make this book. It was sort of damming the river and making it almost impossible for me to have any other creative "flowage". The idea was sort of creating a situation of creative constipation. I knew that Laura would be doing Halloween type stuff with her fam so I figured well not only could I clear the path buuuuttt I'd be doing a favor for my bestest friend at the same time. I'd be giving her the opportunity to not have to add a project to her ever growing list of crap to scrap! See it was a win-win for everyone!
The first thing we had to do was get together because I knew I was going to need her help on this project to finish quickly. I had her come up with the pumpkin shape to use as a template for the book. The back page is a heavy chipboard and the front page is made out of a glittery card stock. The rest of the pages are regular grade scrap paper cut into the shape of a pumpkin. We had to create both fronts and backs. It was a process! I then proceeded to cut each page except the back page, down the middle. This made it to where we had the binding on each of the sides of the pumpkin and the book opened from the middle. Don't really know why I insisted on this, but I think it gave it a different sort of look. I documented the whole Halloween process from pumpkin patch to hauling in the candy! I laid out all the pictures so all Laura has left to do is embellish. However it looks pretty rockin' even without embellishments! With both of us cutting and gluing it took 20 hours to create this book. This does not count the 2 hours we took to go on a midnight taco bell run or the 2 hours the next morning we took to hit Joann's for more glue (was it more glue? I dunno it's all kind of hazy LoL!) We spent about 15 hours throughout the night and then when we returned from Joann's we spent another 5 until I had to go. Moral of the story: always scrap with a friend who can cut better than you!


~Kat's Unique Book Gift~

Do you have a lot of random photos that make the people who are in them plead with you to delete? Well I do and I got this really great idea to use all those "funny" random photos as a special and unique Christmas gift. While wondering around one of my LSS trying to find inspiration, I saw a display for individual pieces of chipboard shaped like letters. Then I heard the rush of the waterfall!!!! I decided to spell out the person's name and use all those funny random photos I have of her. She herself is a scrap-crapper and I know she has enough of those perfect kind of pages. So I decided well let's make a book to show the imperfect fun side that we all know and love! A lot of the papers I used were from Bo-Bunny, which is one of her favorite lines. The embellishments were a mix of rub-ons and jewels. This is the project where I learned that I LUV those sticky jewels! Word of caution though, when working with those plastic acrylic pages be prepared to use muscle with the rub-ons.


Wednesday, February 23, 2011

~Kat's Zoo Book~

Last Mother's Day I thought it would be fun to spend the day at the zoo with one of my favorite little guys. When I sat down to scrap the trip I wanted to go outside my comfort zone. I used the Animal Crackers stack from DCWV. It was a real make it work kind of moment because the paper was way busier than what I usually choose. Then once i got into a groove with the paper, I started to run low on animal stickers. I found in my scrap crap these realistic animal stickers. I remember thinking what was I thinking when I bought these! But then I decided why the hell not!!? I stuck them onto a piece of card stock, cut around it and then used 3-Dots to make them pop off the page. Oddly enough it worked out great! I also had problems with gluing and taping on the glittery paper. I've tried several different types and brands. I think I finally just ended up using elmer's stick glue.


Gingerbread Book


I used glue dots and glittered them for the eyes, buttons for well...the buttons..and fabric glittered white paint for the icing. I made each family member into their own gingerbread. I had a photo of their faces on the head part and then used pictures of their families on their bellies. My mother-in-law loved this book when I gave it to her Christmas!


PaRtY!!


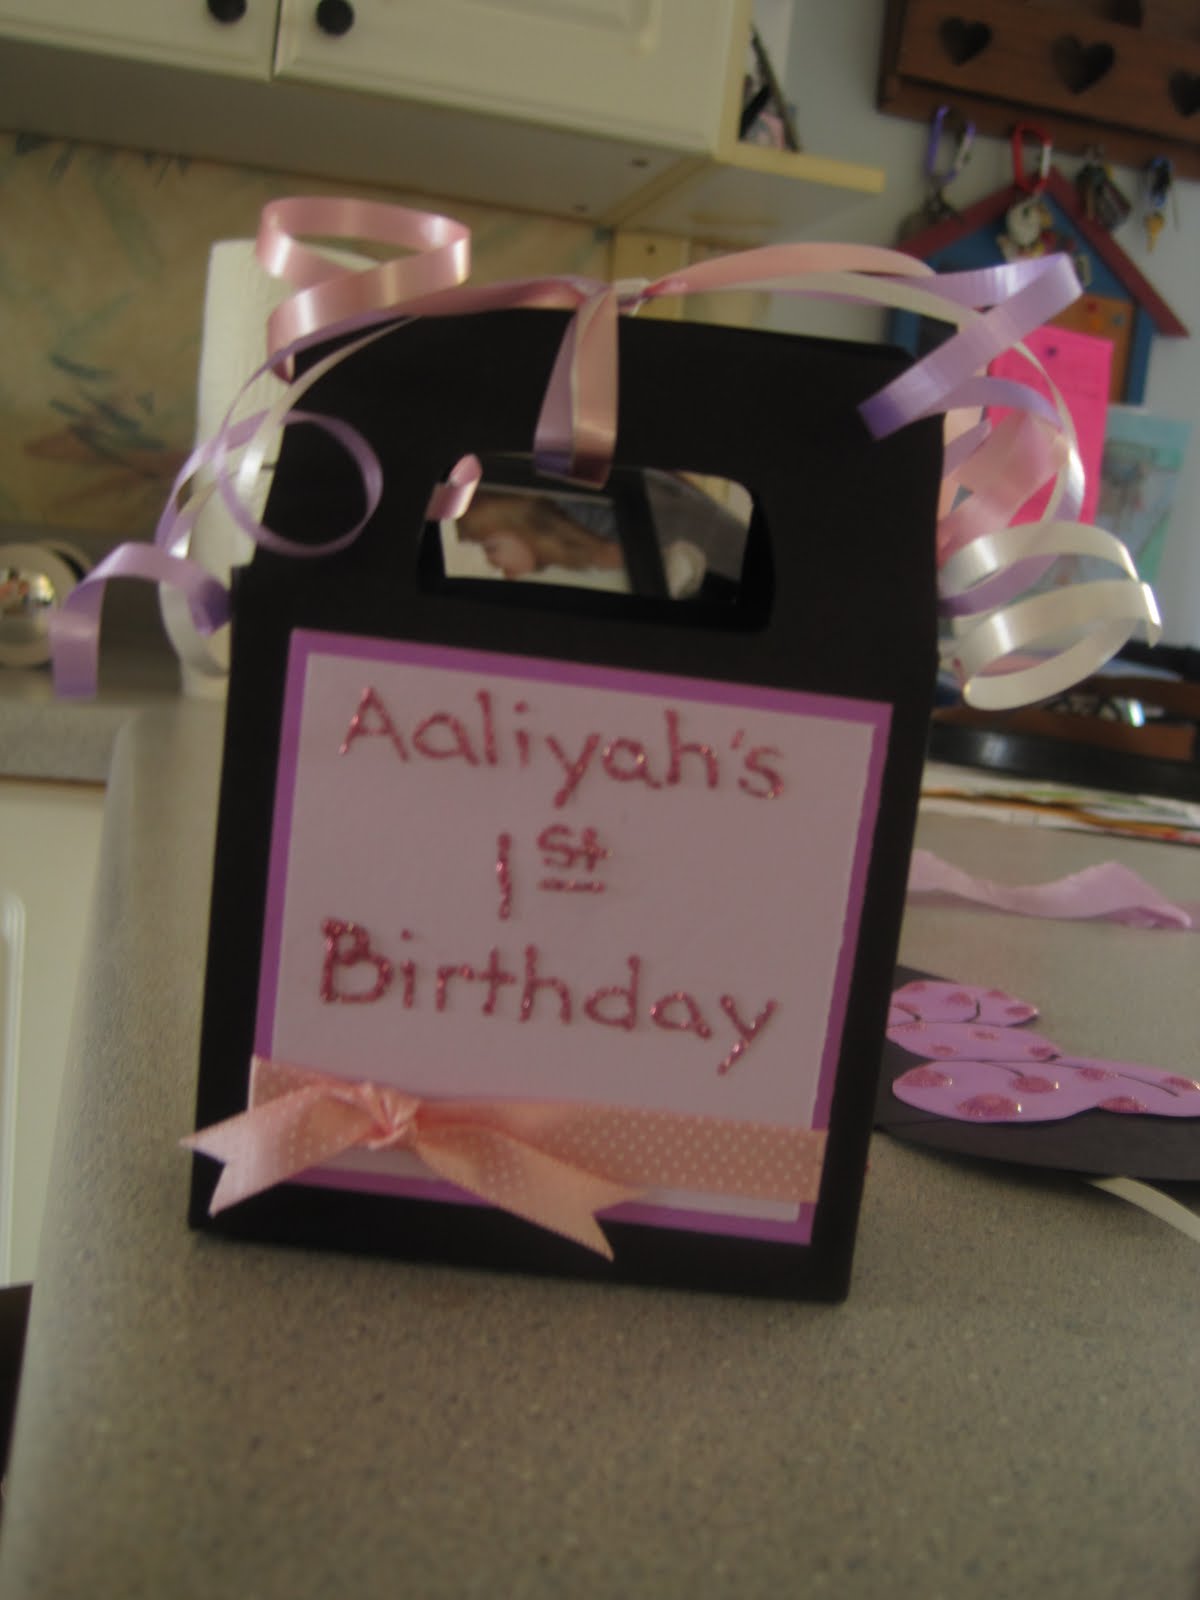
Our creativity doesn't stop at just scrappin' crap! My friend's baby girl was having a Minnie mouse party. I came up with the first bag to be used as a goodie bag, Kat helped me out with the Minnie head bag. Aren't they cute! They are made with 8 x 11 paper so they actually can hold a decent amount of candy. And no Cricut machine needed here!...all our hand cut with an exacto knife.

Tuesday, February 22, 2011

Valentines Day!


So instead of making some Valentine Day cards for the grandma's and great-grandmas...I decided to make some frames! Again, I am a huge fan of the wood unfinished frames...they are only $1 at Michaels...can't go wrong with that! So using paper I got out of the Target $1 bin, ribbon and wood love sign from Michaels and foam stickers from Joann's...I created fun frames as an unexpected gift for V-Day. As a little added detail I had small thin V-Day ribbon which I glued in the lip of the heart!

Thanksgiving Frames


So I saw these little scarecrows at Michaels one day..they are actually on sticks. So I brought a plain wood unfinished frame, painted it..added some fall leaves and twigs and a bright flower. I broke off the stick off the scarecrow and for a finishing touch I bought 3 different colors of that paper ribbon stuff and completed the frame by making a cute little bow.

Halloween Frames


Fabric paint works great for creating webs on clear frames. Another good scrap item to have around is leaves. I found these leaves at Michaels, they are black with purple glitter on them. I just super glued them on the frame. The word 'spooky' and the bat are made out of wood which I just added a touch of glitter. The rest of the items are just random stickers and foam stickers I had in my collection of scrap crap.

Wedding Book


I made this book for my older brother who plans on getting married. I call it a sexy book since the silver and black just pop from the pages. I hand cut all the poster boards to make this book, and the inside pages are abut 1 inch smaller then this front page and back page. I thought the front and back cover were perfect to show everyone that your don't need a lot of color or embellishments to make a statement.

Home Album Pics


Home book


Kat recently gave me a Home chipboard Album so I combined two family kits purchased from Walmart and brought this album to life. Other materials used was Prima flowers, Martha Stewart Glitter glue and heart shaped brads and lots of ribbon and rhinestones!

Monday, February 21, 2011

A Creative Waterfall...

Have you ever gone over a waterfall in a barrel? This is what I imagine that living inside mine and ~LK~'s head must be like. We have creativity like flows like a river that's heading towards a water fall. We get these really random ideas (hehehe imagine that?!) and we just run with them right over the waterfall. Its scary and fun all at the same time! Sometimes we tread with our scrapbooking where following the directions isn't very feasible. We're always on the lookout for the next idea and we get inspiration from EVERYTHING! This blog is sort of a showcase of not just the ideas we pulled off but the ideas we have yet try. Our little idealets if you will...We will also showcase what I like to call our "normal" scrapbook stuff. You know the regular 12x12 layouts we have done.
Right now I'm going through an orange phase and Laura is going through a flower phase. But I think we are both going through an "anti 12x12" phase. Meaning that we are currently working on stuff that defies the boundaries of a 12x12 piece of paper.
Our latest projects include; "The Monster Book of Monsters" book, A "Skittles" book, A Cupcake Book and a book inspired by a starbucks frappacino.
Most likely the posts will start out with a few of the things we've finished since November.
Have fun and hang on!!